
Print statements in Replay are your magic wand for debugging. Replay lets you add print statements (also called console logs) to an existing replay with no need to compile or re-run the code.
With print statements, you can see how many times a function executed, evaluate parameters, and even add comments to provide insights for your team.
Adding a print statement
You can add a print statement to any line of executable code in a source.
- Hover over a line of code to see how many times the line was hit.
- A blue plus button will appear if a print statement can be added. Click the button to add a print statement.
The screenshot below is from a public replay of replay.io/demo. To follow along, open
demo-script.js file in the Editor.
To log all of the calls to the randomizeIllustration function, click on the blue plus button on line 68. 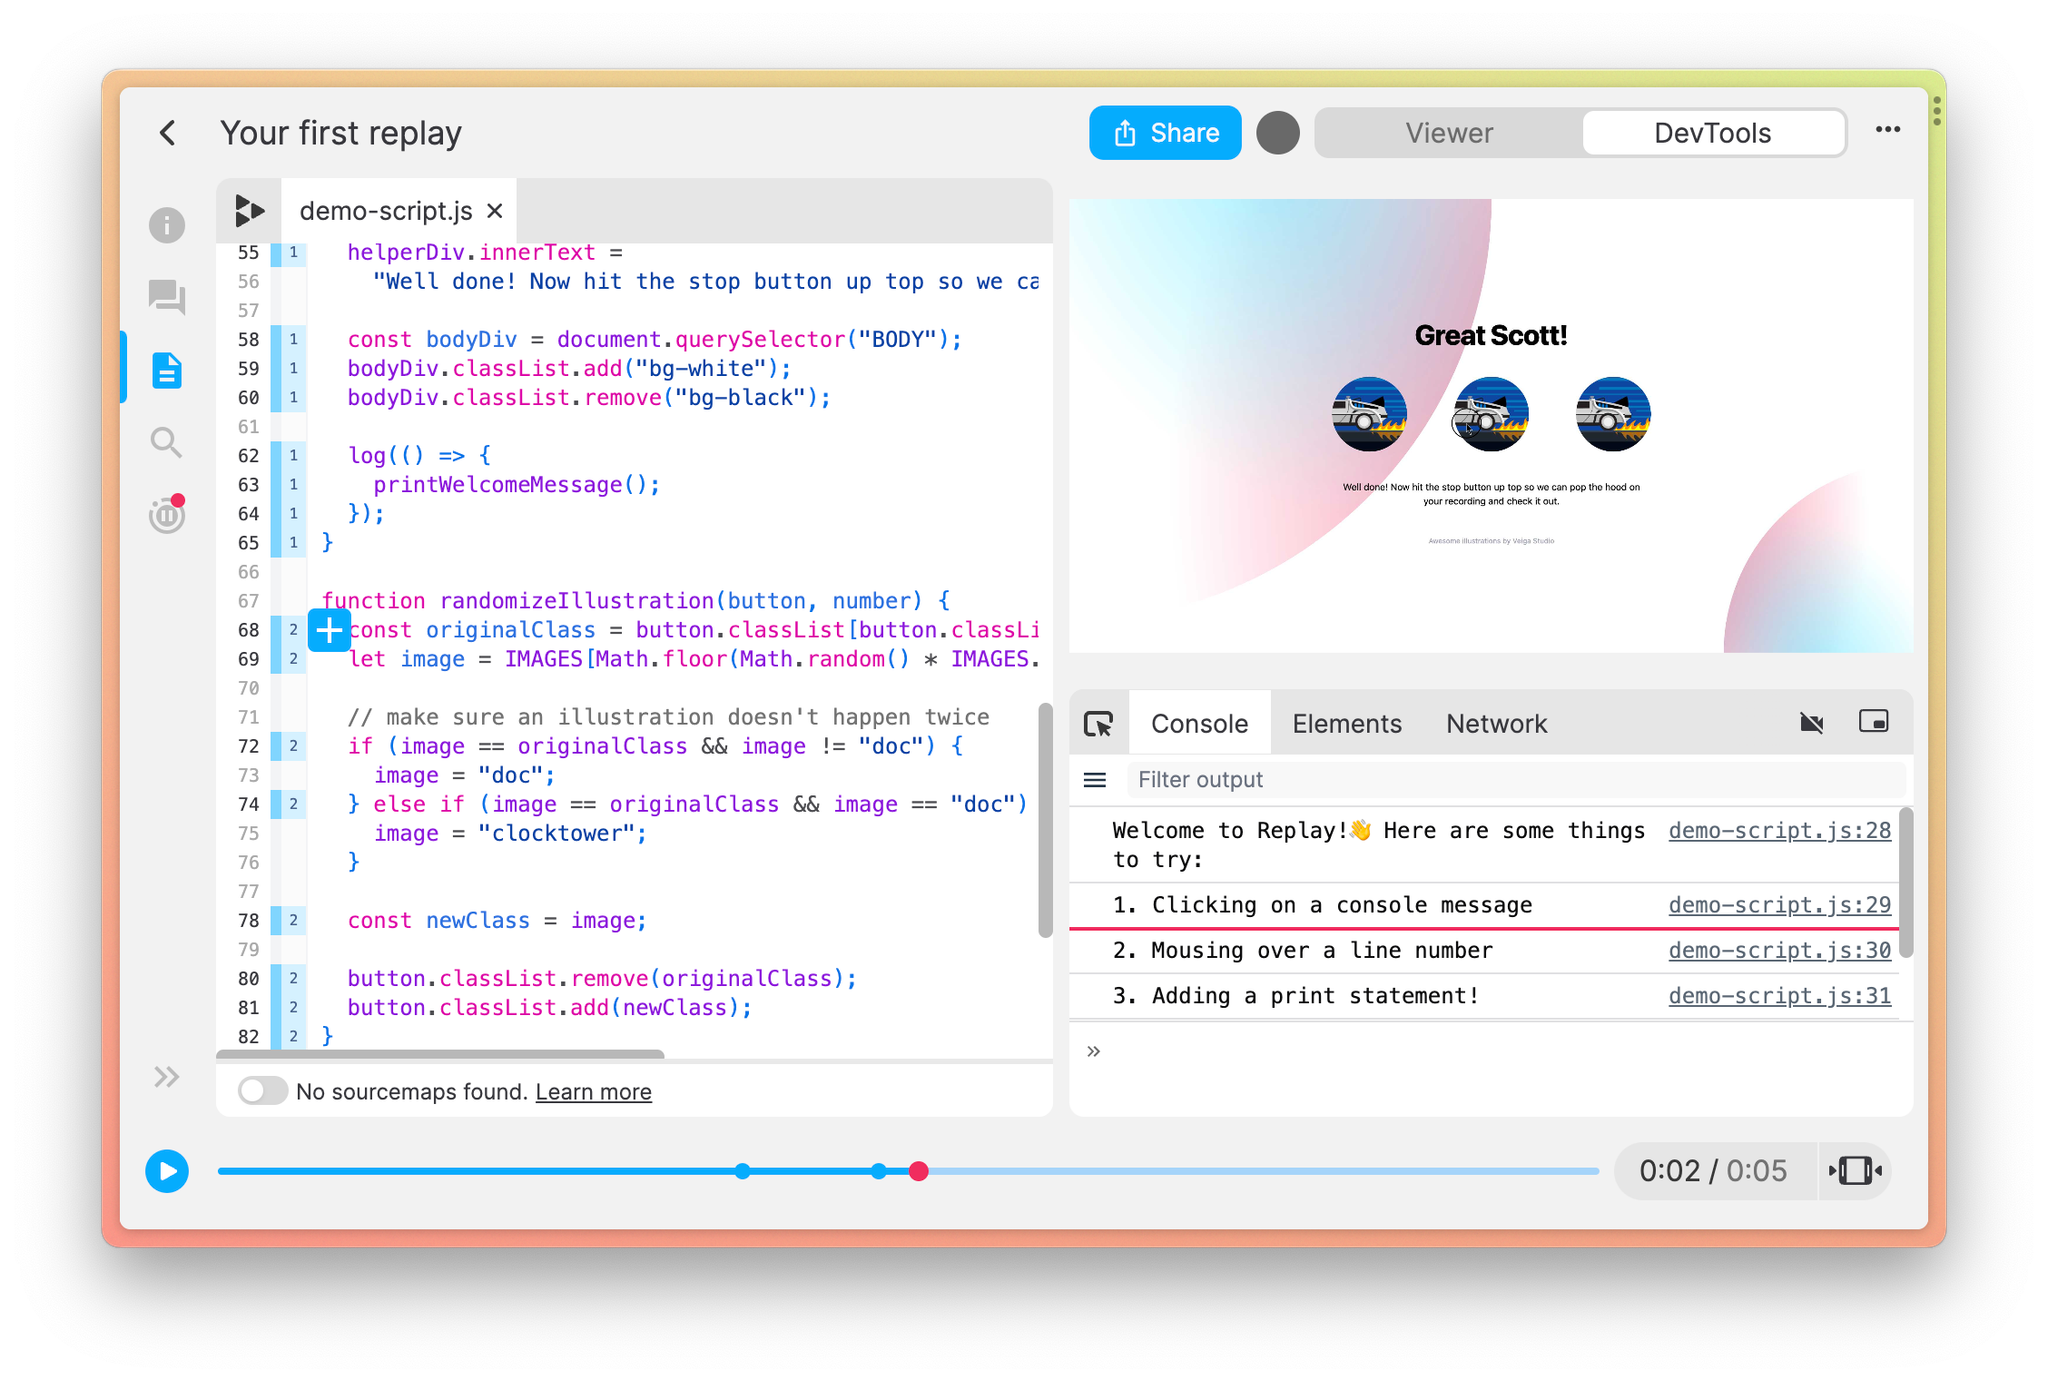
Clicking the blue plus button opens the Print Statement panel with the initial expression and when the function calls occurred. The calls are indicated by markers on the timeline under the expression.
The console will also update to show the new console logs. Initially, the print statement will output the line number of the code.
In our example, we can see
randomizeIllustration was called four times. This is indicated by the four markers on the timeline, as well as the console output.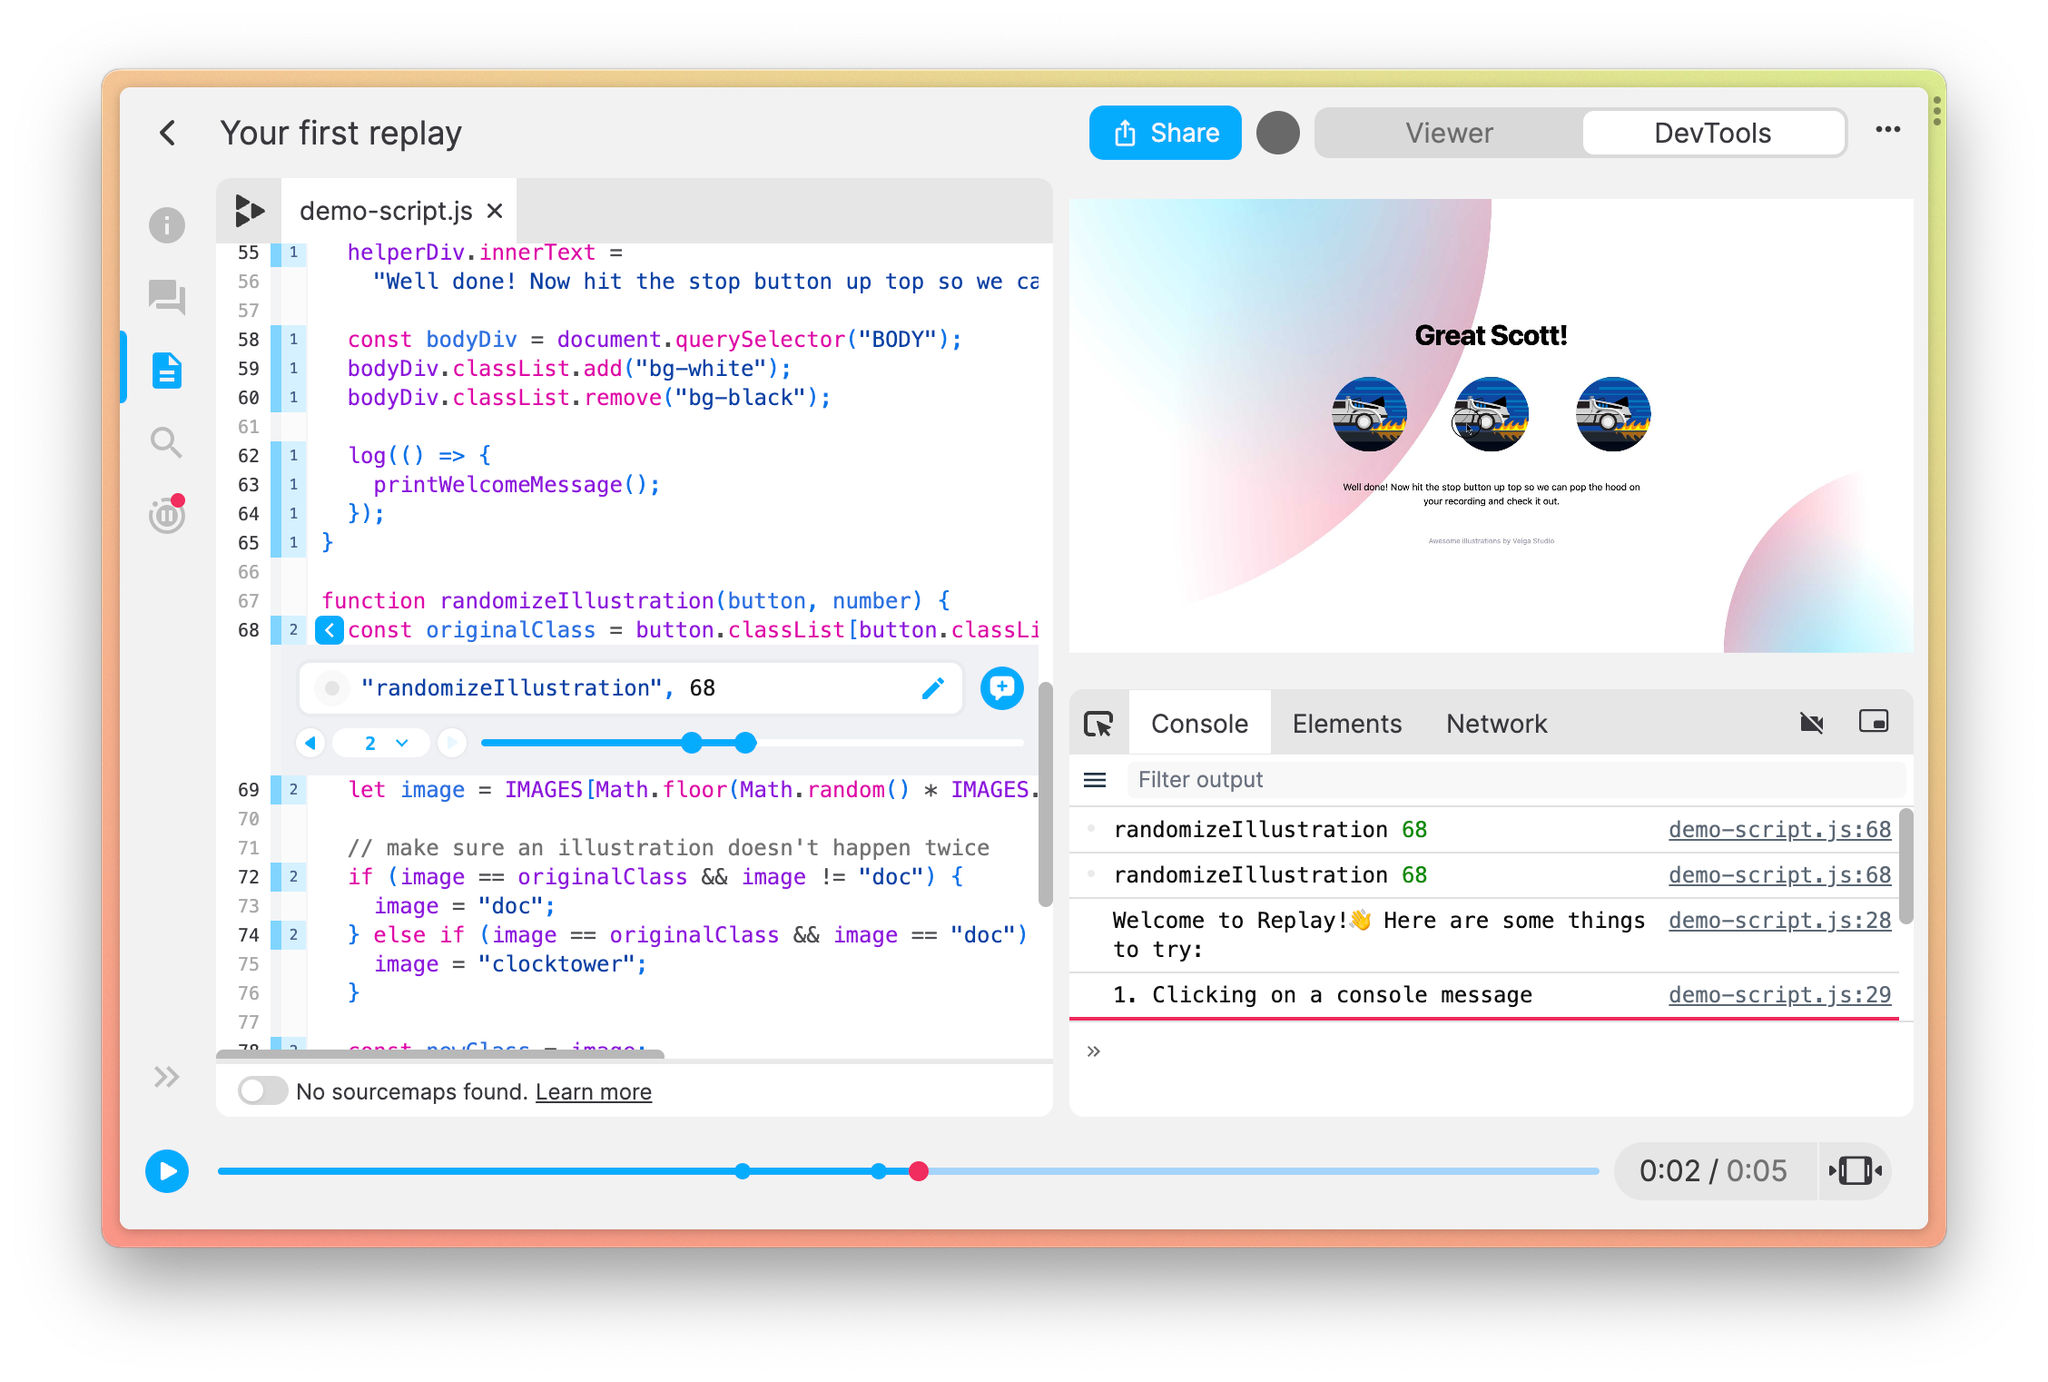
Editing a print statement
Print statements can be edited to control the output to the console.
To edit:
- Click the pencil icon or the text within the Print Statement panel.
- You can edit both the text and values output to the console. Output multiple values by separating them with a comma.
- Click the blue Save button to update.
In our example, let’s edit it so that we can see the second parameter,
number. Now the value of number is output to the console for each time the function was called.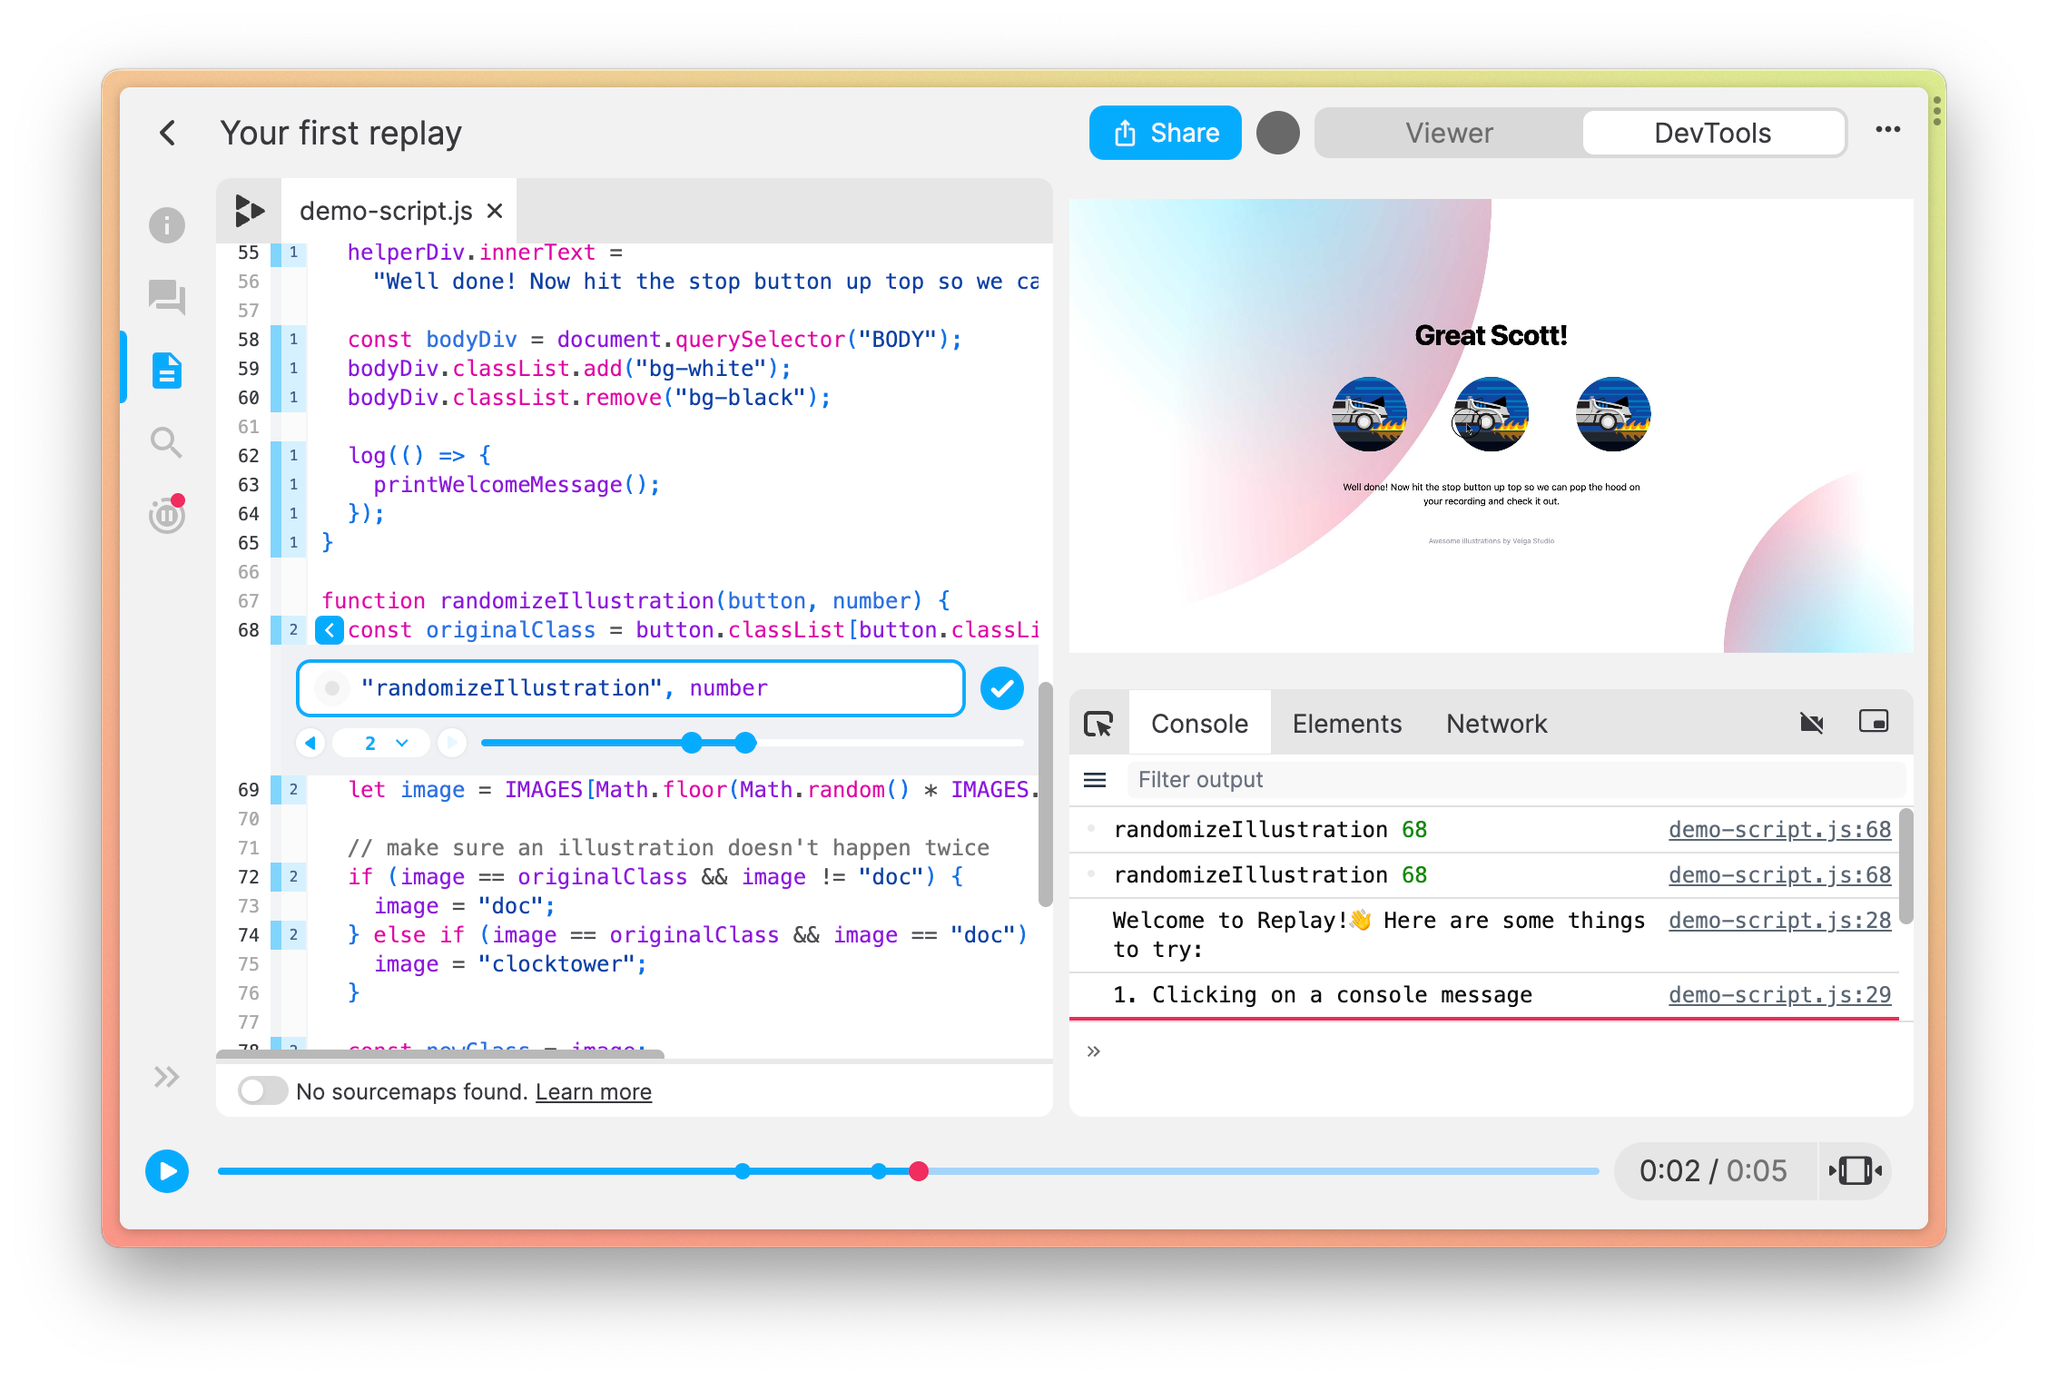
When logging values of variables to the console, remember that the print statement is for the beginning of the line. If the variable is defined on a given line, you would need to log on the next line, after the code declaring the variable has been executed.
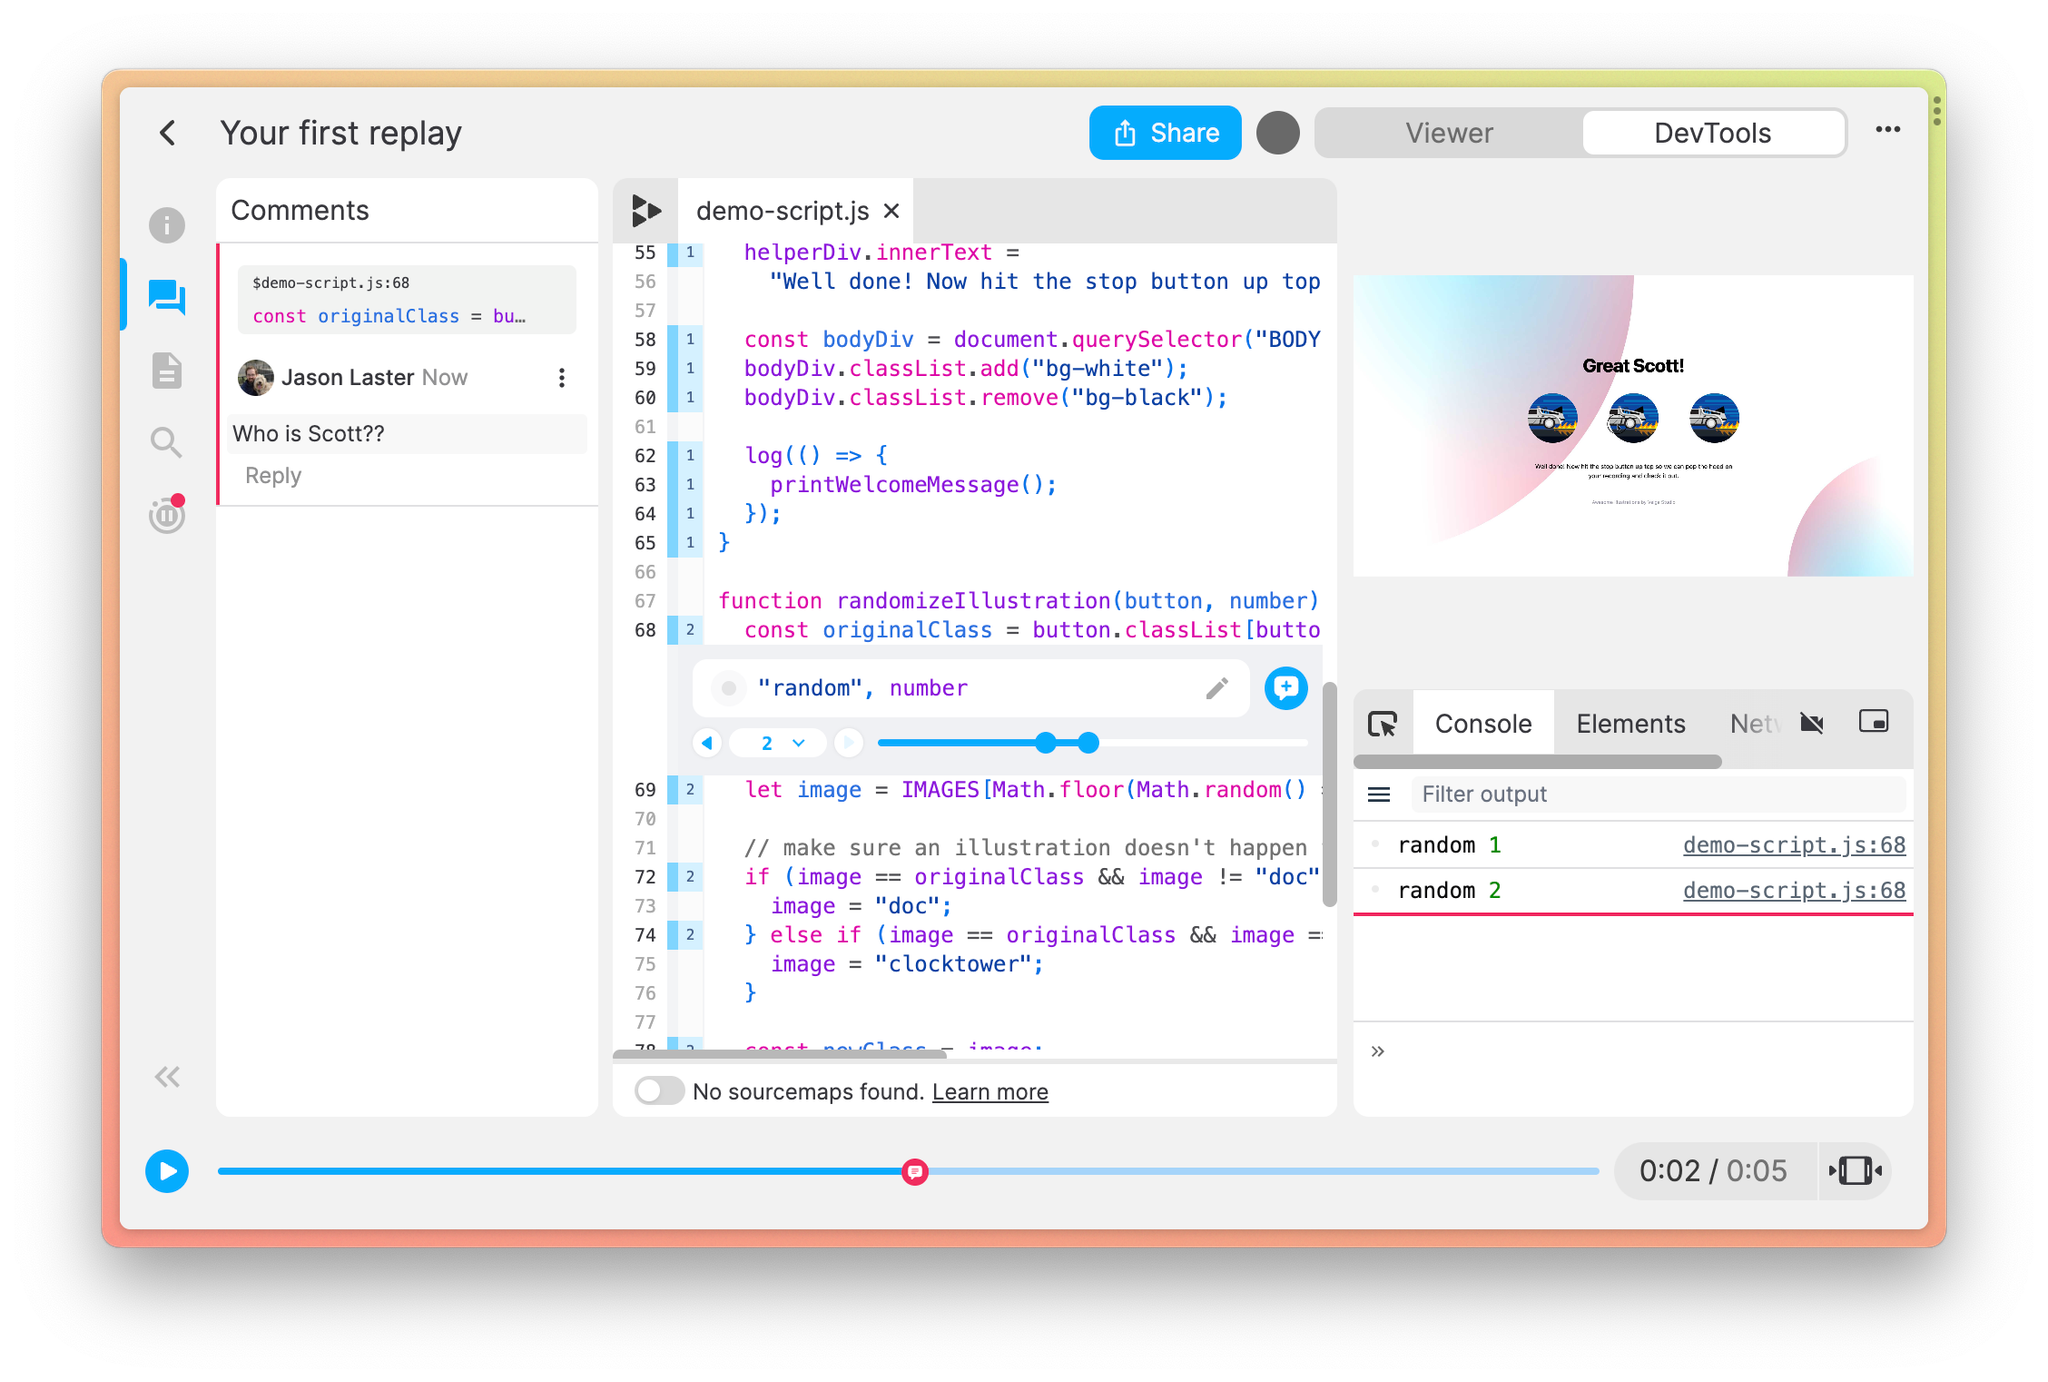
Adding a comment from a print statement
Click the blue comment button when the print statement panel is open to create a comment referencing that specific function. A link to the function will be added to the comment so others can easily jump to the line of code related to the comment.
Navigating to a console log
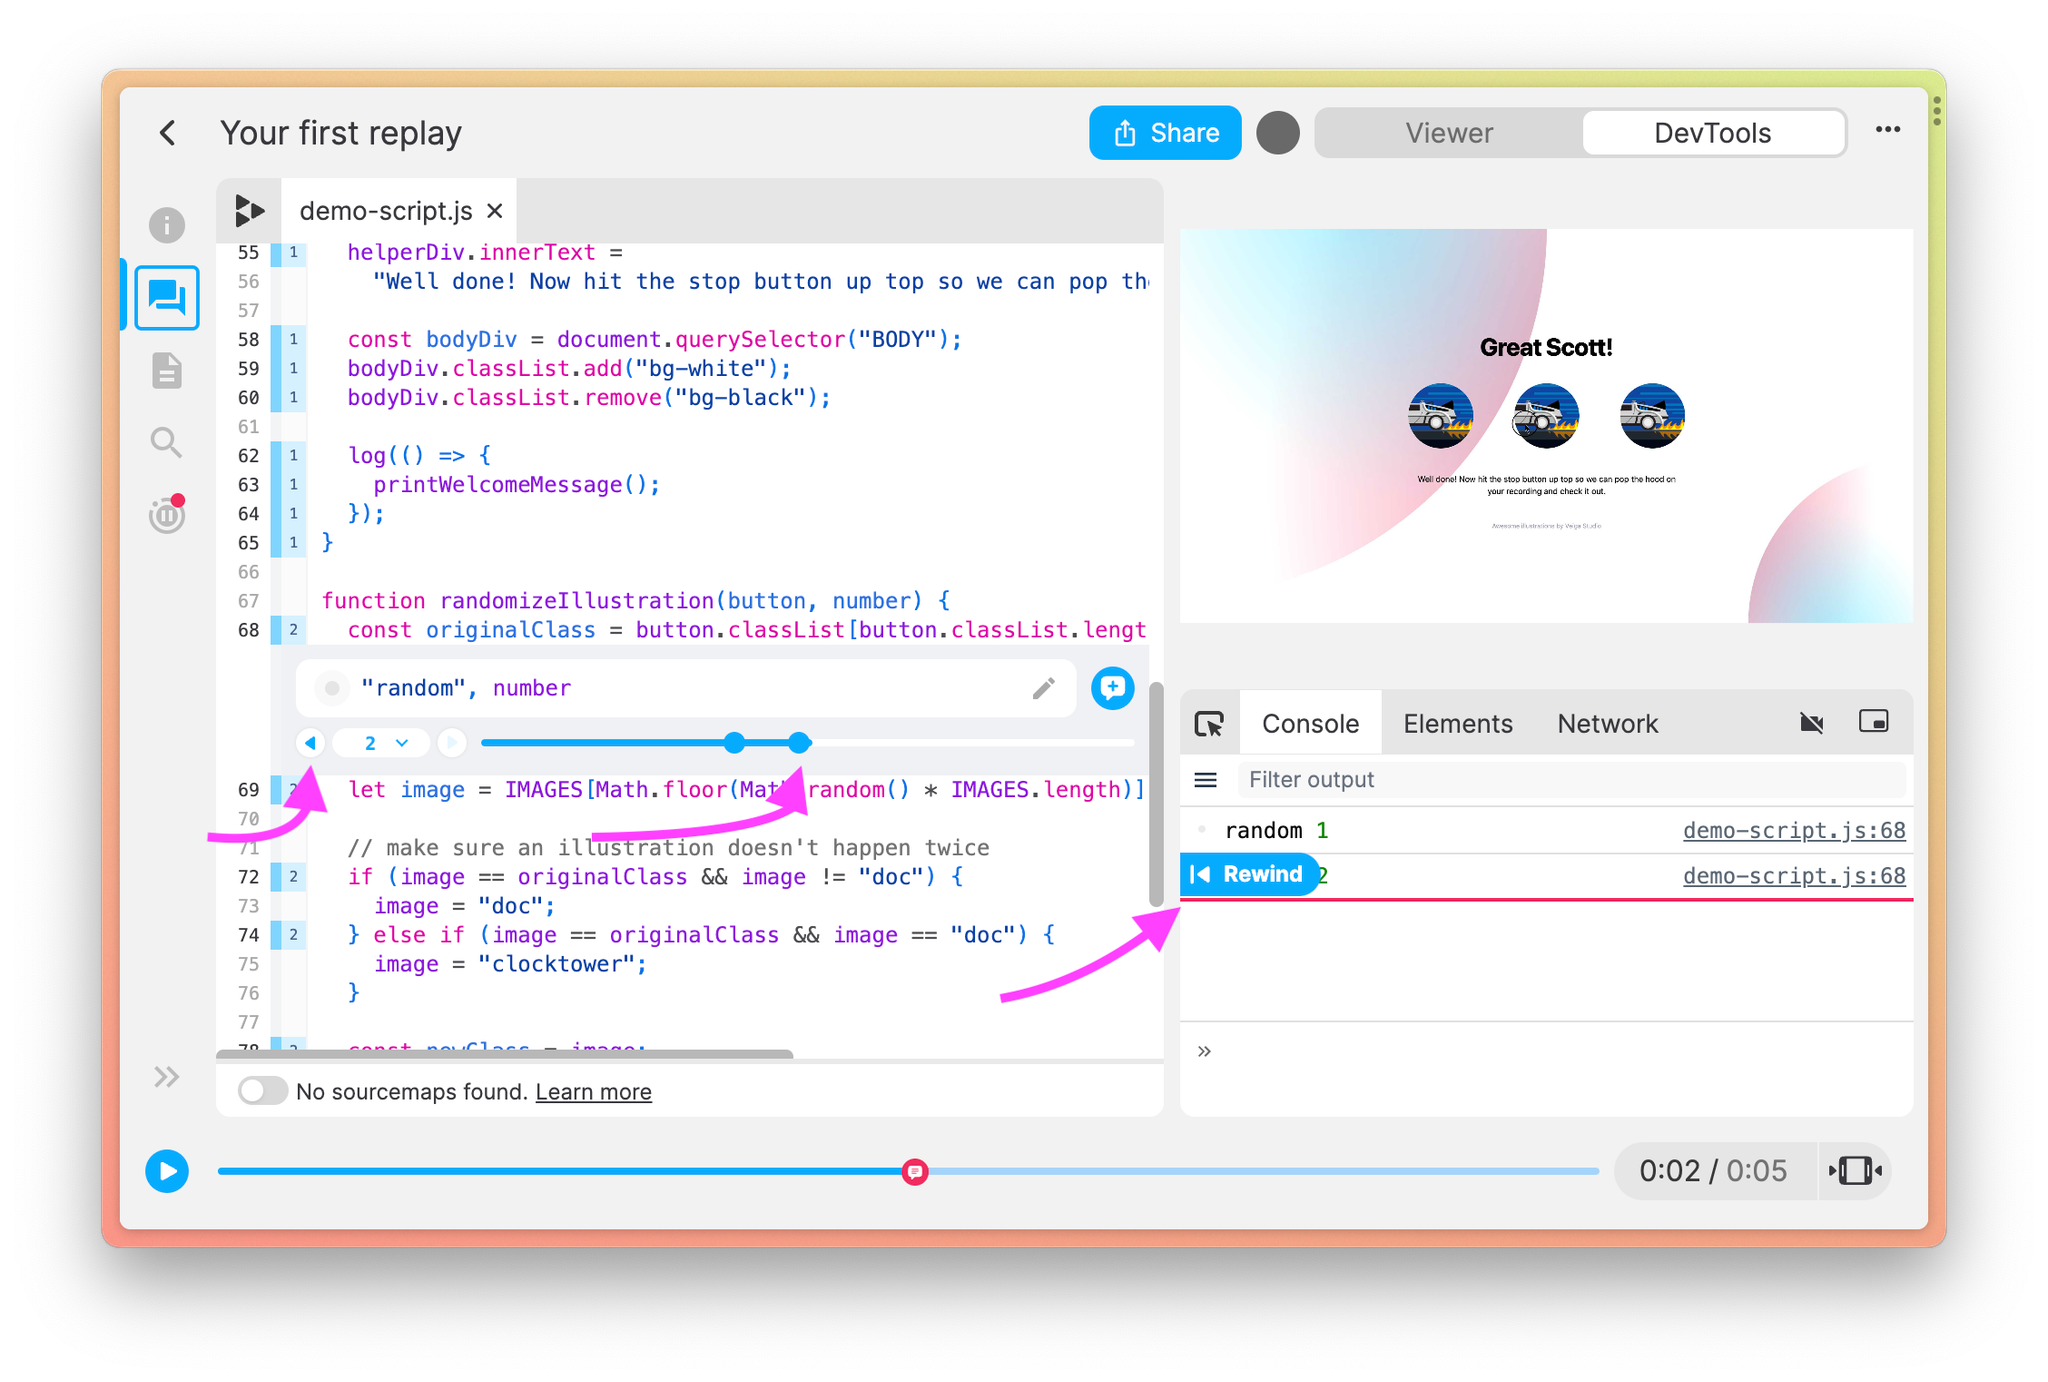
Replay lets you navigate between executions of a line of code so you can see the state of your application at each instance. You can rewind or fast-forward to a console log from the Print Statement panel or the console.
Let’s say we want to see what the application looked like when
randomizeIllustration was called the second time. We could do that by either:
- Clicking the rewind arrow twice in the print statement timeline.
- Clicking the second marker in the print statement timeline.
- Clicking the blue rewind button on the second console log.
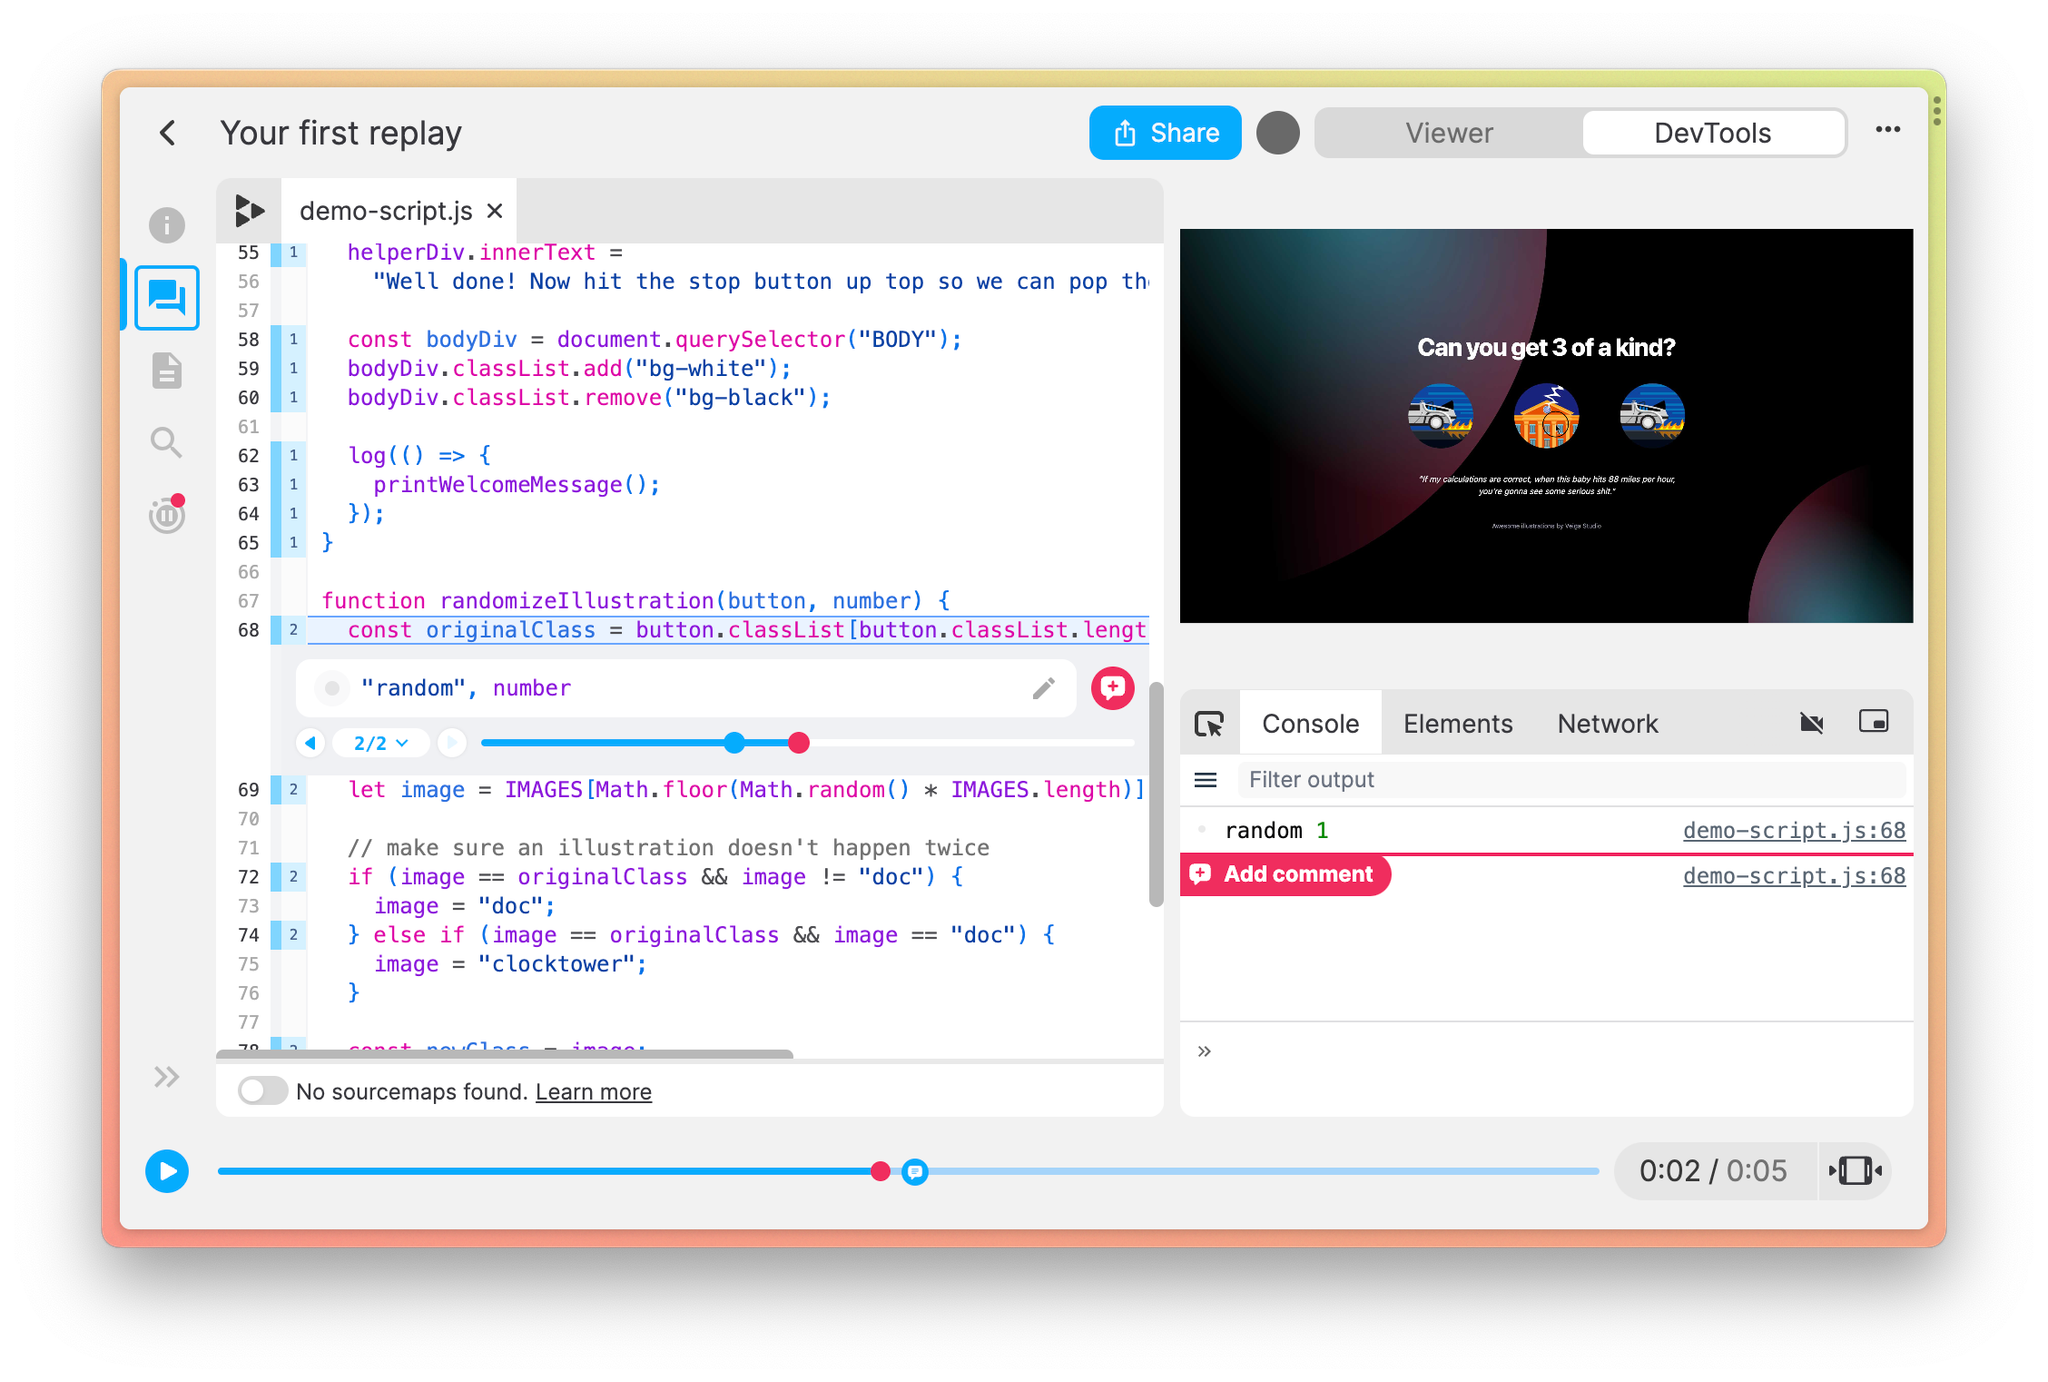
Adding a comment to a console log
Commenting on console logs is an incredibly useful way for keeping track of executed code and adding context for others on your team.
Add a comment to a console log two ways:
- Click the red Comment button on the console log itself.
- Click the red comment icon in the Print Statement panel when the marker for the console log is selected.
Note: If the comment icon is blue in the Print Statement panel, this will add a comment referencing the line of code, not the specific console log. Make sure a marker is selected in the print statement timeline to add a comment for a console log.
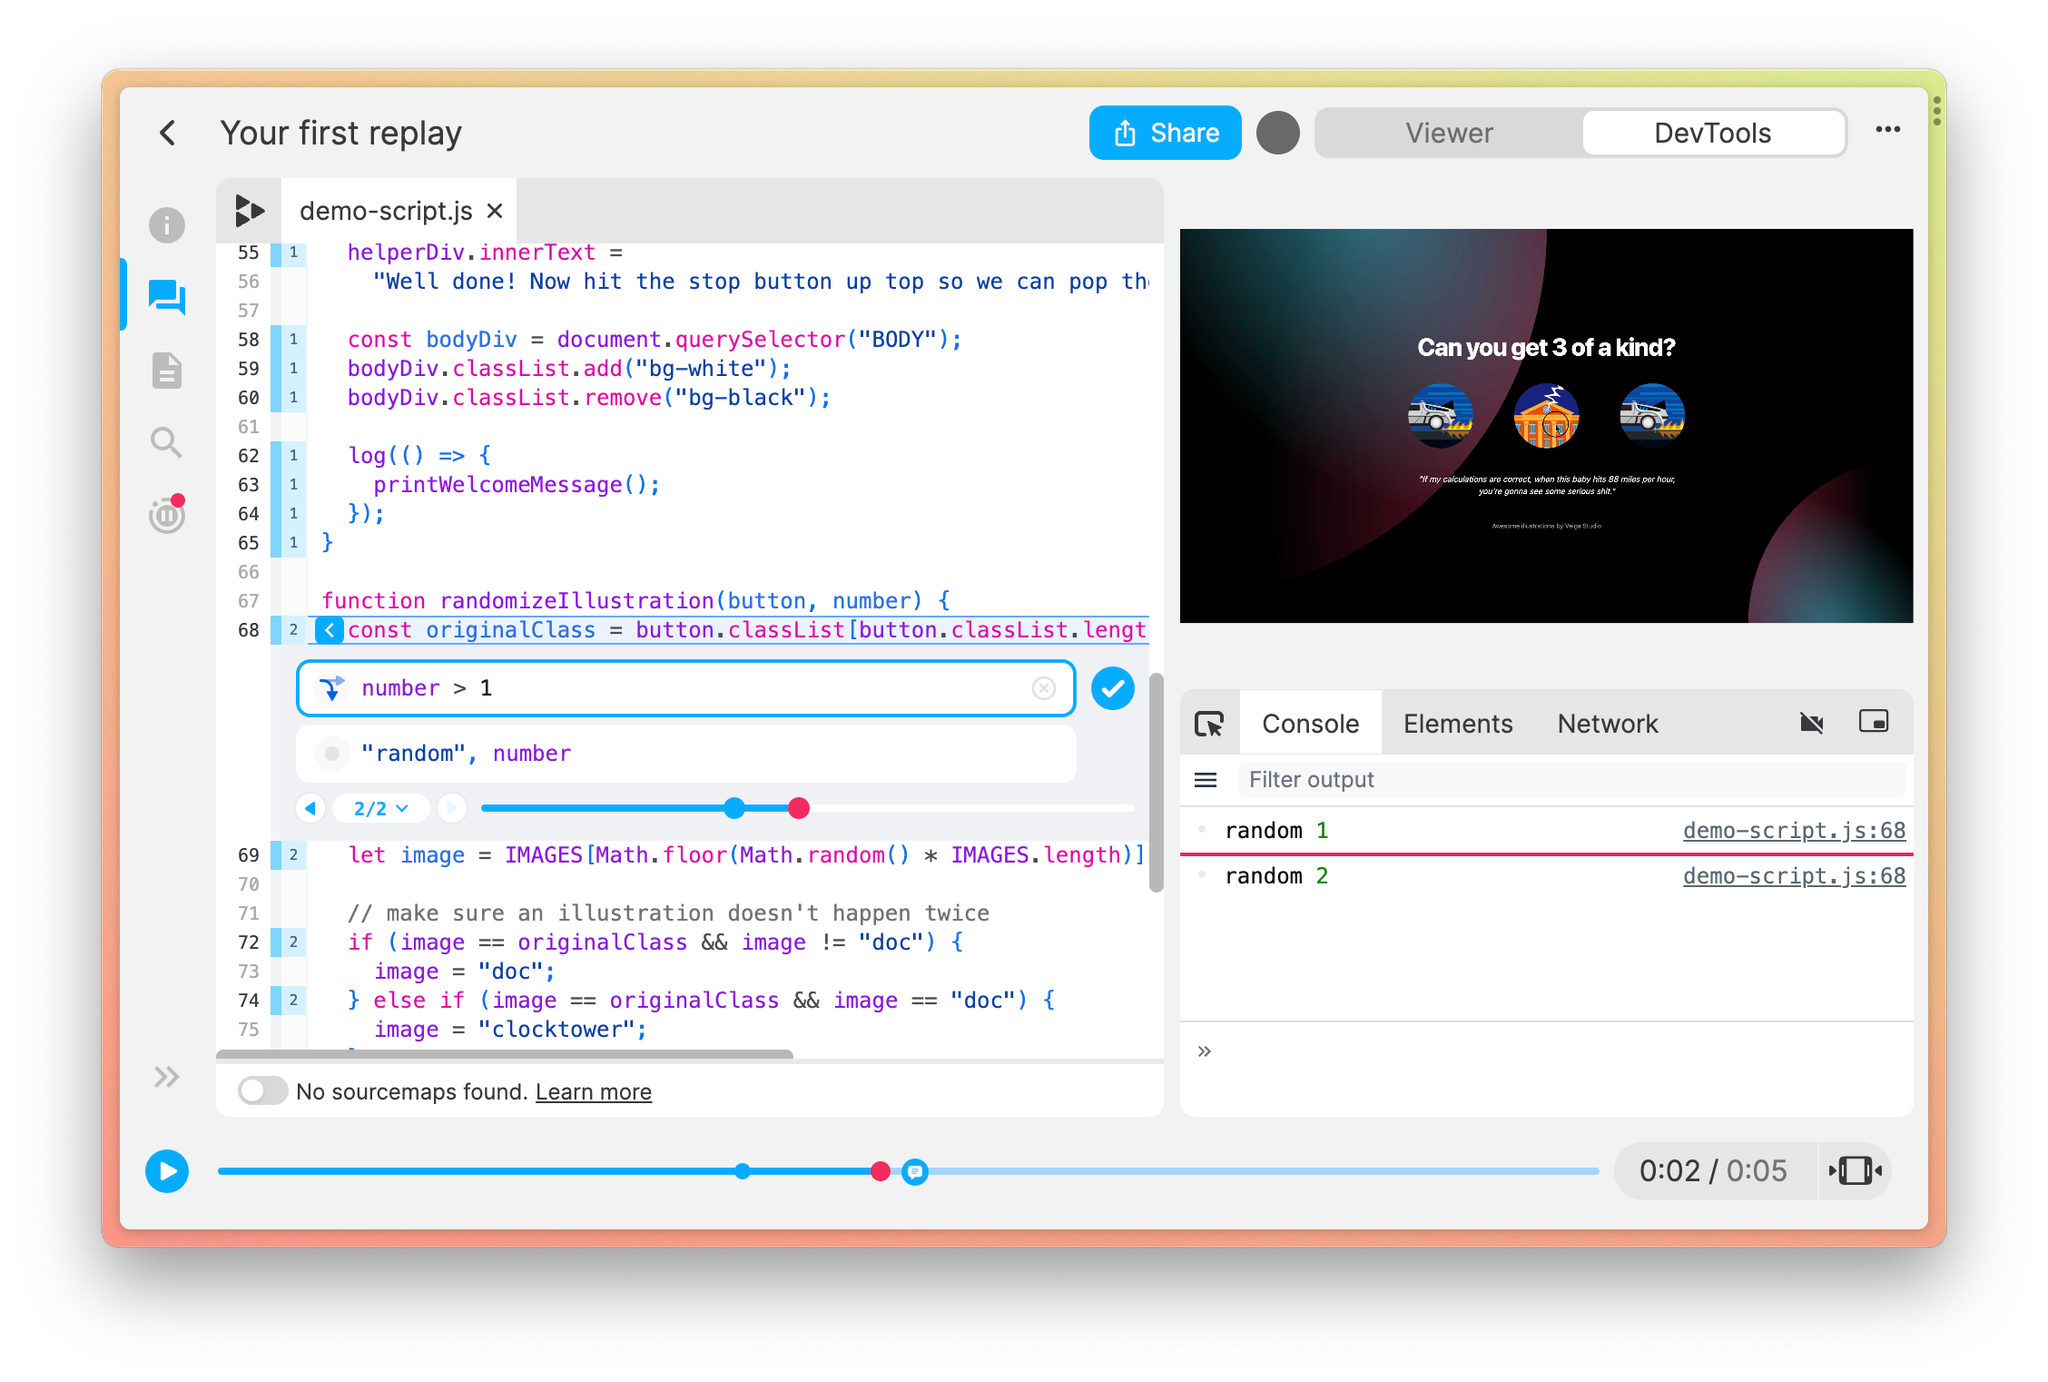
Adding a condition to a print statement
Adding conditions to print statements is a useful way for filtering the logs that you see in the console.
To add:
- Click the pencil icon or the text within the Print Statement panel.
- Click the filter button in the bottom right of the navigation bar.
- Add a condition in the
ifinput
- Click the save button
In our example, let’s edit it so that we only log numbers greater than 1. Now the logs in the console with a number equal to 1 are hidden.
Print Statement Prefixes
You can click on the circle on the left, to add a badge and easily identify the corresponding logs in the console. We like to call this feature the Unicorn Picker 🦄
